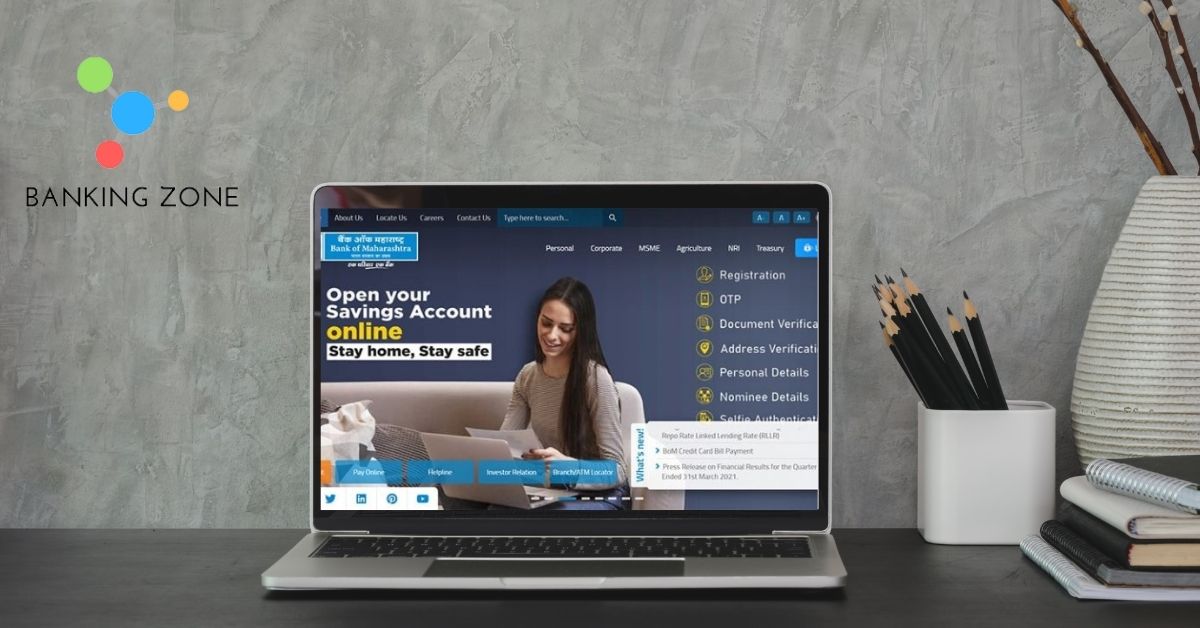
You may also be interested in opening an account at Bank of Maharashtra. You have reached the right place. This article will show you how to open a Bank of Maharashtra account.
Online account opening is possible at Bank of Maharashtra. Online account opening is possible at Bank of Maharashtra. To complete the KYC, you will need to visit the branch. This can be done at any time during the year.
This article will show you 7 steps to open an account at Bank of Maharashtra. This article must be read from start to finish in order to fully understand it.
In 7 simple steps, open a Bank of Maharashtra Account:
- Click on Registration after clicking on Online SB account in Bank of Maharashtra Official website.
- OTP will come to your mobile after filling the details in Registration process
- Document verification will be done after OTP verification
- Address Verification
- Personal details
- Nominee details
- Selfie Authentication
First, search for Bank of Maharashtra by entering Bank of Maharashtra into your browser. Next, go to Bank of Maharashtra’s official website.
Click on Online SB Account to continue.
The next page will be opened in front of your eyes. You will then be asked to grant your location permission. You must agree. Next, you will need to select your language. You have the option to choose between English or Hindi. Next, click on the next.
Next, select the nearest branch you wish to open an account in and click on Next. You can open an account at any branch by clicking on the other buttons.
You will now need to enter your details. In 7 easy steps, you can open an account at Bank of Maharashtra.
Registeration
Select the title first. Next, you will need to enter your name. Next, tick the boxes and click on Next.
OTP
An OTP will be sent to your mobile number that you provided when you opened an account at Bank of Maharashtra. Enter OTP here, then click Next.
Document verification
Upload the photo of your PAN Card. Be sure to upload a clear photo and keep it under 500kb. After you upload the photo, enter your PAN number. Next, enter your Aadhaar number. Click on verify.
Verification of Address
Enter your address. You will be presented with two options. You will be given two options: the Principal Address and the Communication Address
Click on the dropdown in front of your principal address to begin filling out your address. You will first need to enter your home address. Next, enter your country, state and district. Then, enter your pincode.
Select the document type you wish to use for proof of address. Next, enter the document number and its expiry date. You will then need to upload both the front and back photos of your document.
The next step will ask you if your principal address is the same as your communication address. You can tick the box below if you only have one address. If you don’t have a communication address, enter it and click Next.
Personal Details
Next, you will need to enter your personal information. First, you must choose your gender. Next, you will need to indicate your marital status. Next, you will need to give your religion. You will then need to provide information about your education.
Next, you will need to indicate occupation in occupation. In annual income, you’ll need to state your annual income.
After that, you will need to enter the name and surname of your father. Next, enter your birth date and accept the terms and conditions. Next, you will need to sign the agreement and click on Next.
Information about the nominee
You will now need to enter the details of your nominee. You must first enter the name of the nominee. Next, you will need to enter the name of the nominee. Then you’ll need to describe your relationship with him. Next, you will need to enter the nominee’s age.
Scroll down to the nominee address and enter the address for your nominee. First, enter the address of your nominee. Next, enter the country, state and district. Next, enter your pincode.
Selfie authentication
Now, take your selfie. First, you must give permission to the camera to take the photo. Then, click the photo.
Next, you will need to place your face in a circular circle. Click on Take a Picture. You will need to click on authenticate photo.
Your account will be created in Bank of Maharashtra once you have completed this step. Your account was successfully opened, as you can see from the image.
You will instantly receive your Customer ID and Account number. You can also register for Net Banking or Mobile Banking if you wish.
Notice: This account is an Aadhar OTP account. You must complete KYC within 12 months. This account will be closed if you don’t complete the KYC within 12 months.
To complete your KYC, you can visit any Bank of Maharashtra branch. Once you have completed the KYC process, your account will be considered normal.

